- today
- label News
- favorite 4 Likes
- remove_red_eye 9608 Visits
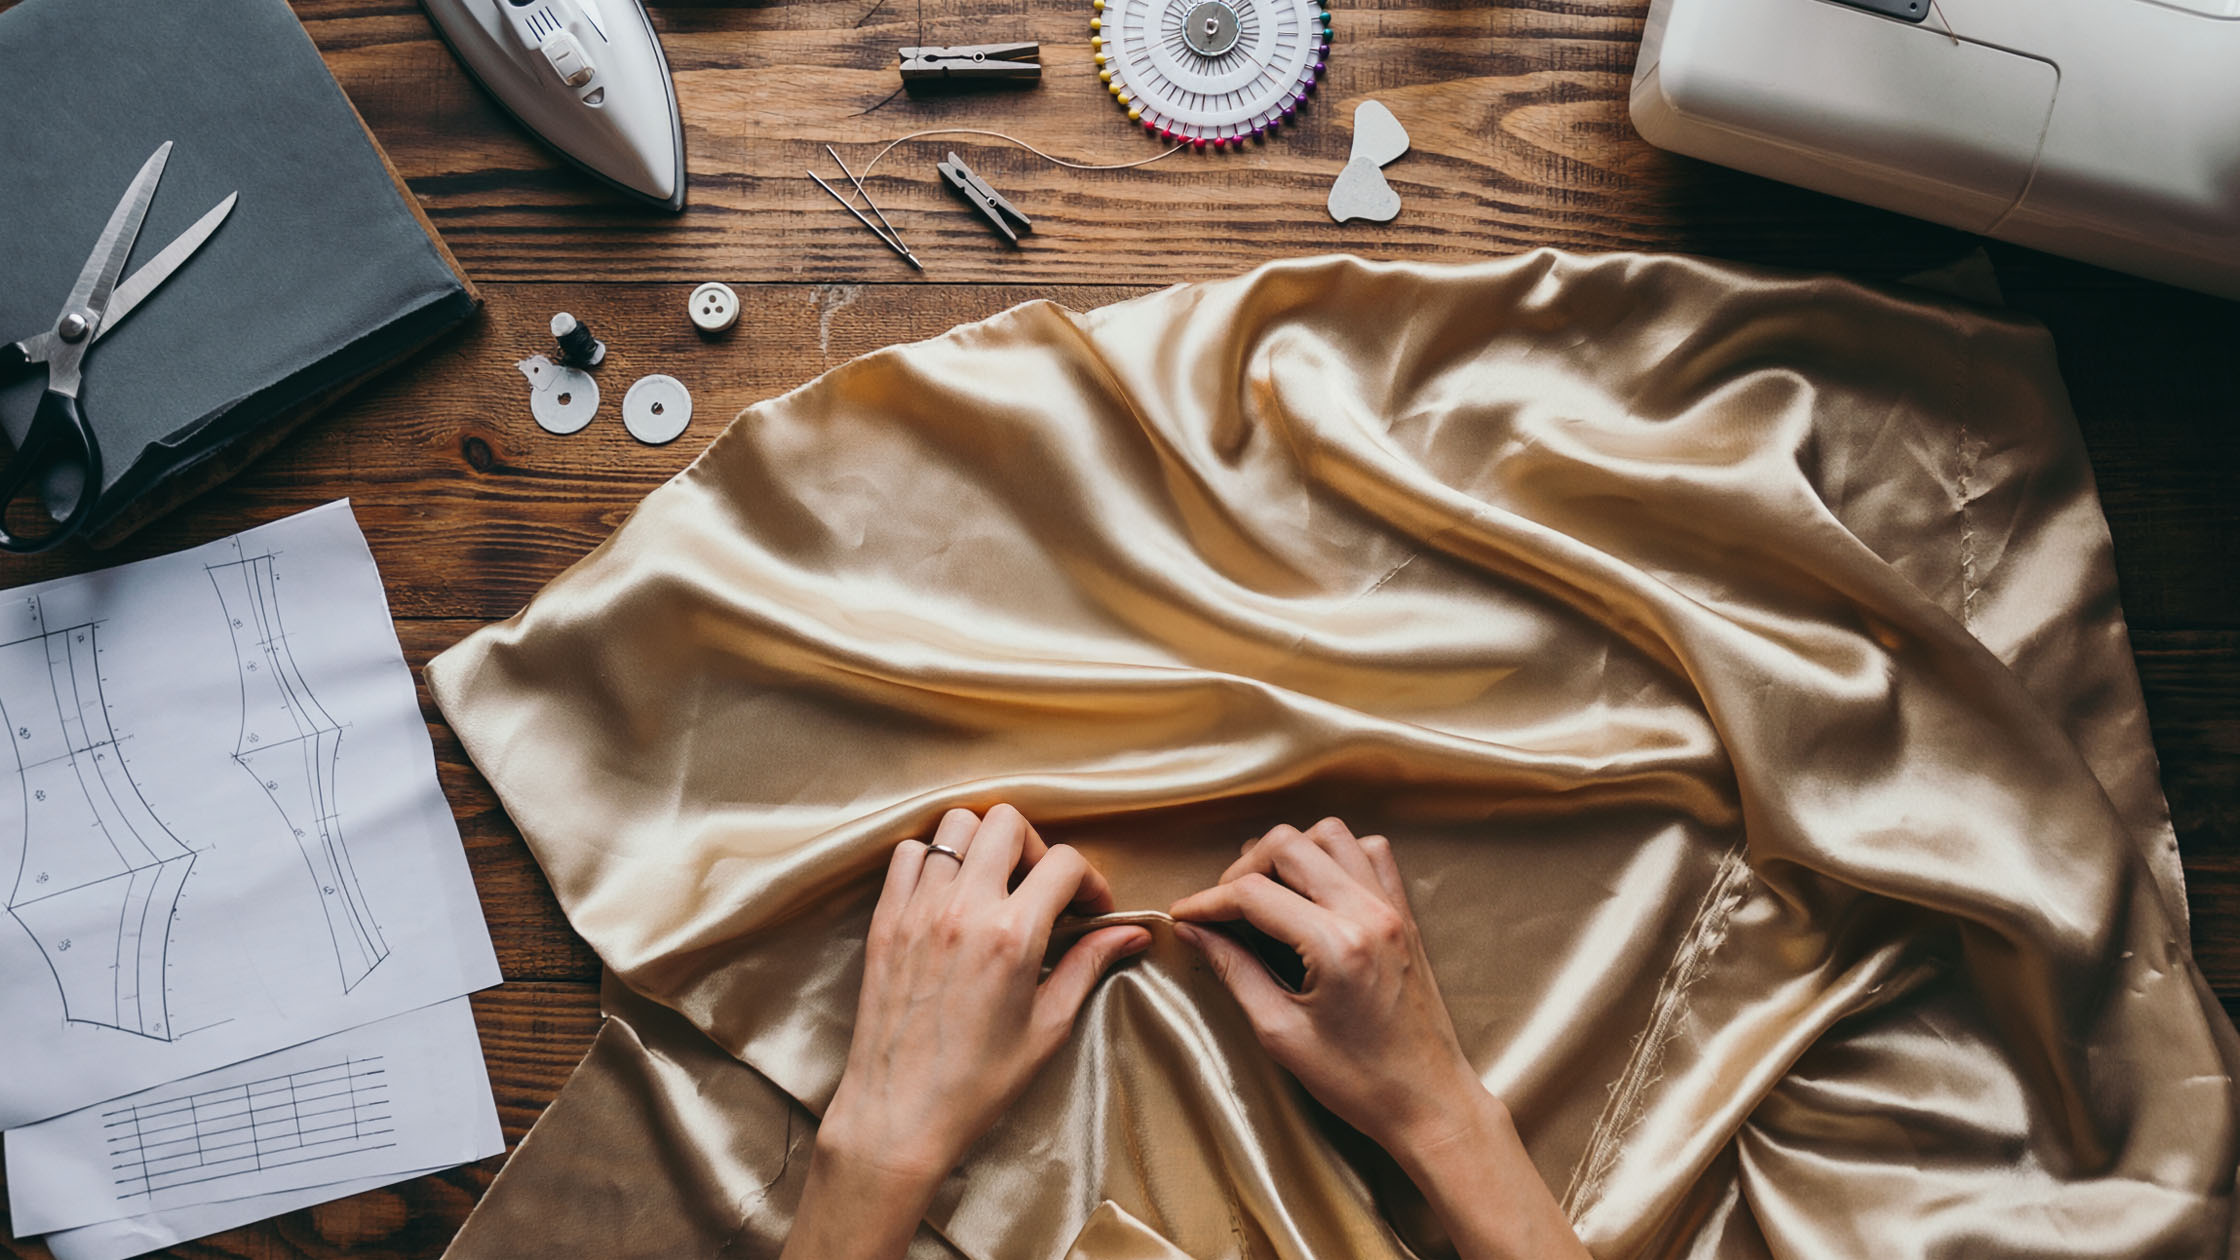
French seam and silk – why do we give up overlock in Haute Couture sewing?
The decision to choose the edge finish method in custom sewing defines the final quality of the garment sewn. In the case of luxury materials, a standard overlock often turns out to be an insufficient solution, and even harmful to the delicate structure of the fibers. The French seam is an alternative used in the best fashion houses, guaranteeing that the inside of the garment looks as noble as its right side. The abandonment of machine casting in favor of this technique increases the value of the project and testifies to the craftsmanship of tailoring.
Aesthetics and durability: How to hide the raw edges of delicate fabrics without weighing down the seam
The French seam is a technique of double stitching of the material, thanks to which the raw edge is completely closed inside the resulting tunnel. This solution eliminates the problem of fraying the threads, which is common with loosely woven fabrics. Unlike an overlock, which creates a visible and often rough ladder of threads, the French seam is smooth to the touch and does not irritate the skin. Its design strengthens the connection of elements, which makes the garment more resistant to stress when worn. Hiding the hem inside the seam protects it from mechanical damage during washing, which significantly extends the life of your favorite silk blouse or dress.
The Advantage Over Overlock: Why Natural Silk Doesn't Like Dense Draping
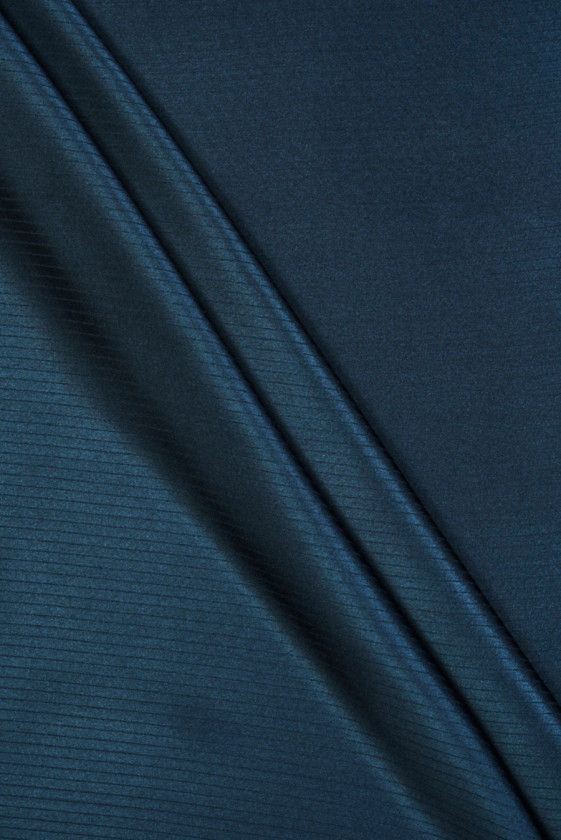
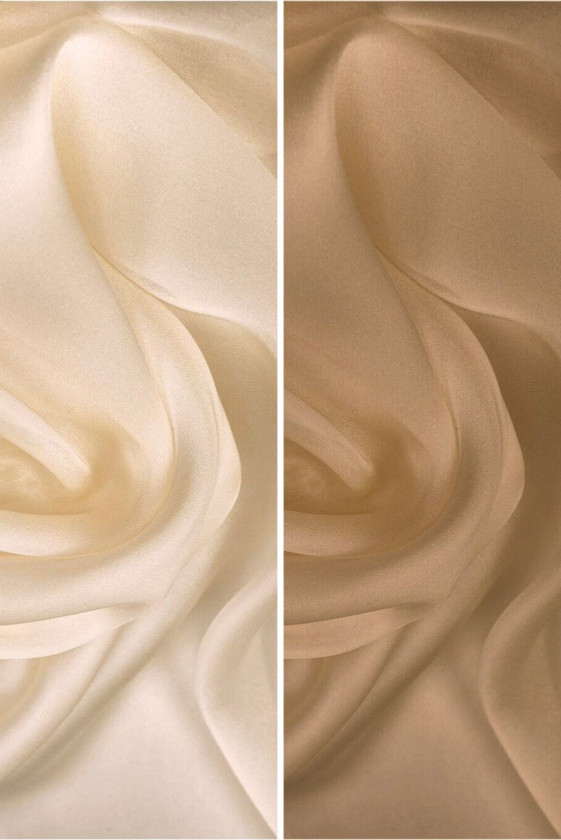
Natural silk is characterized by extraordinary lightness and fluidity, which is easily disturbed by the use of heavy overlock threads. Dense edging of the edges often causes the seam to stiffen, which changes the way the fabric is laid on the silhouette and creates unsightly thickenings. Overlock machines work at high speeds and use multiple needles, which increases the risk of pulling fine yarn or creating holes along the sewing line. You make the French seam on a single-needle lockstitch, which gives you full control over each puncture and allows you to maintain the natural softness of the material. The elimination of unnecessary threads makes the seam flexible and works together with the fabric instead of fighting it.
Transparency and a luxurious finish – when a French seam is essential
The use of a French seam becomes a necessity when working with transparent materials such as chiffon, organza or silk muslin. In such fabrics, every interior finish is visible on the right side, which is why the aesthetics of the left side is absolutely crucial. A visible overlock stitch in a transparent blouse immediately reduces its visual value and gives the impression of mass production. The French seam creates a thin, elegant line that looks intentional and professional, becoming a decorative element of the design. With this technique, you avoid showing through the messy threads, and the entire construction of the garment gains in lightness and sophistication, which is a characteristic feature of high tailoring.
Sewing preparation: Microtex needles, threads and accessories that will not damage the fibers
Working with silk requires not only the right technique, but above all the right selection of tools that will ensure the safety of the delicate matter. The use of standard sewing accessories can lead to irreversible damage to the fabric even before the actual sewing begins. You should treat completing a silk sewing kit as an investment in the final result, because even the best technique will not repair the damage caused by a blunt needle or too thick thread.
Selection of the right needle (Microtex) and silk threads for the weight of the material
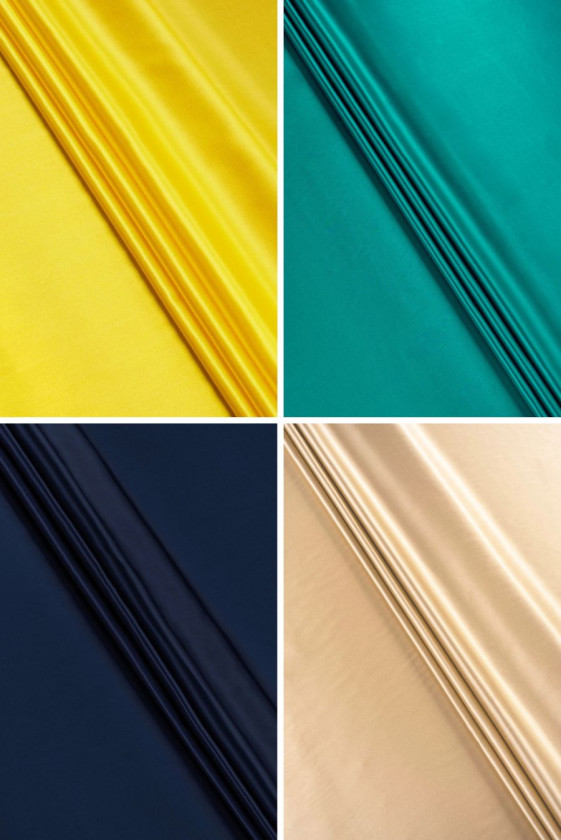
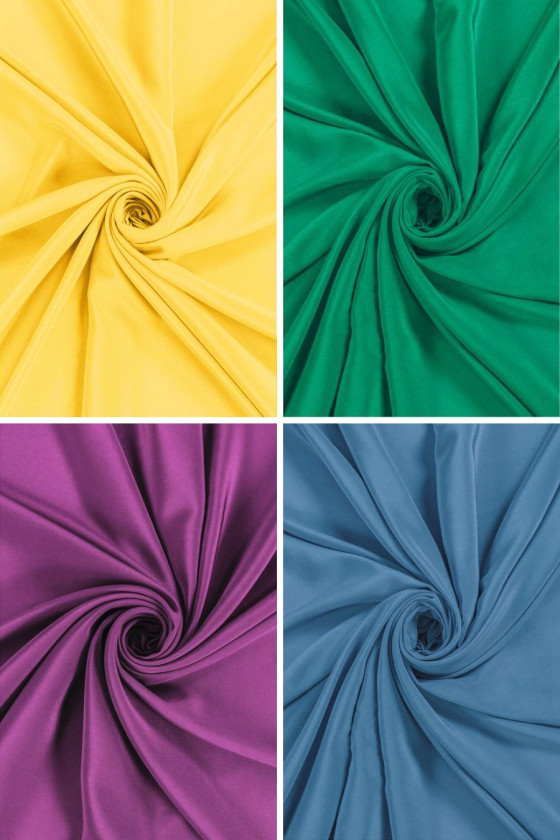
The basic mistake when sewing silk is to use universal needles, which have a slightly rounded tip and can push or pull the fibers. Be sure to reach for Microtex needles, which are characterized by a very sharp and slim blade, ideal for piercing dense weaves of microfibers without damaging them. Match the needle thickness to the weight of the material, aiming for sizes 60 or 70 for thin silks and up to 80 for thicker satins. It is equally important to choose threads that should be thin and smooth, preferably silk or high-quality polyester with a silk finish. Avoid cheap, cotton threads that can be rough and cut through the delicate fibers of the fabric when using the finished garment.
Thread Tension and Stitch Length Settings in a Home Machine
Before you put the target material under the foot, you need to fine-tune the machine on an unnecessary piece of the same fabric. Silk is very sensitive to thread tension and setting it too tightly will cause an unsightly wrinkle of the seam, which cannot be ironed. Reduce the tension on the upper thread slightly below the standard settings and observe if the stitch is laid flat. The stitch length also matters and should be between 2 and 2.5 millimeters, which will ensure the durability of the joint without unnecessary perforation of the material. A stitch that is too dense can act as a perforation in a postage stamp, weakening the fabric structure at the point of jointing.
Cutting and fastening accessories – why can pins damage satin?
Traditional tailor's stilettos are often too thick and blunt for delicate silk fabrics, leaving behind permanent marks in the form of holes or puffs. Instead, use specialized, very thin silk pins or tailoring clips that do not interfere with the structure of the material at all. If you have to use pins, always attach them within the seam reserve so that any marks are not visible on the finished product. A circular knife and a self-healing mat are best for cutting silk, as they eliminate the need to pick up and move the material, which is often the case with scissors and leads to inaccuracies in the pattern.
French seam step by step – sewing instructions using the "left to left" method
Making a French seam requires a change in thinking about the process of joining elements, because we start in the opposite way to traditional sewing. The whole procedure consists of two stitching separated by precise ironing, which requires patience but guarantees a spectacular final result. Remember that the key to success here is precision and iron discipline in maintaining the right seam widths.
Step 1: First layer bonding and precise determination of stock width
Fold the two pieces of fabric left sides together so that the right, nice sides of the fabric are on the outside. This is the moment when mistakes are most often made by people who are used to standard sewing, so make sure twice before lowering the foot. Sew through the fabric with a straight stitch, keeping a seam margin of about 5 to 7 millimeters wide, depending on the planned final seam width. It is important that this line is perfectly straight, as any unevenness will be difficult to correct in subsequent stages and will affect the aesthetics of the entire finish. If the fabric frays, after stitching, cut the stock with sharp scissors to a width of about 3 millimeters, which will make it easier to hide in the next step.
Step 2: Flat ironing and ironing the seams – the secret to the perfect edge
Ironing is the most important step in the French seam technique and cannot be skipped or done carelessly. First, iron the seam flat as it was sewn, which will allow the threads to "blend" into the fabric and stabilize the joint. Then, iron the seam on two sides, using the tip of the iron alone to distribute the fabric accurately at the sewing line. This action requires precision, but thanks to it, the edge will be sharp and even when folded, and the material will not roll inside the tunnel. Only after thorough ironing, fold the fabric right sides together, so that the line of the first sewing is exactly on the edge of the fold, and iron again.
Step 3: Sealing the raw edge inside the tunnel and final stitching
With the fabric folded right sides to back, with the first seam line at the very edge, you can proceed to the final stage. Sew the layers with a straight stitch about 5 to 7 millimeters from the edge, making sure the new seam is wider than the previously cut stock inside. Your goal is to completely enclose the raw edges in the resulting tunnel so that no threads get out to the right side. Once this stitching is done, iron the entire French seam to one side, usually towards the back of the garment, which will give it its final, professional shape. This gives you a clean, aesthetic finish that is beautiful on both sides.
How to tame slippery silk? Tricks to make it easier to make a straight sewing line
Sewing silk can be frustrating due to its slippery nature, which causes the layers of fabric to shift relative to each other. Mastering a few workshop tricks will allow you to control unruly fabric and get precise results without unnecessary stress. Stabilizing the material and using the right feet is the key to even seams even even for people who are just starting their adventure with silk.
Stabilization of flaccid fabric – methods with semi-parchment paper or starch
If the silk is extremely flaccid and escapes from under the foot, place a strip of semi-parchment paper or thin tissue paper underneath. Sew through fabric and paper at the same time, which will ensure better transport of fabric through the teeth of the machine and prevent the fabric from being pulled into the stitch plate. Once sewing is complete, the paper can be easily torn off along the perforation created by the needle without damaging the seam. An alternative method is to lightly stiffen the edges of the fabric with starch spray before sewing, which will give the silk the stability of the paper and facilitate precise guidance, and it will be completely rinsed out after washing.
French sewing technique on bows and armpits
Making a French seam on straight lines is relatively simple, but arches such as armpit or neckline cuts require extra attention. After making the first stitching (left to left) and trimming the stock, it is necessary to make small incisions on the edge of the stock, perpendicular to the seam, being careful not to cut the thread. These notches allow the material to lay flat when reversed and prevent the seam from pulling on the arc. During the second stitching, guide the fabric more slowly, stretching it gently to make sure that the sewing line follows the curve of the pattern perfectly.
Edge foot and other facilities for beginner seamstresses
For those who find it difficult to maintain an even distance from the edge, an edge foot or a foot with a ruler will be an invaluable help. They have a special stop that guides the edge of the fabric at a constant distance from the needle, guaranteeing a perfectly even seam along the entire length. It is also worth using a stitch plate with a millimeter scale or sticking a piece of painter's tape on the machine, which will mark the line of the material. These simple conveniences allow you to focus on controlling your sewing speed and holding the layers together, taking the burden off of constantly aiming for the right width of the stock.
Troubleshooting: What to do when threads come out on the right side?
Even with care, it can happen that the end result is not ideal and unwanted elements appear on the right side. Instead of panicking and tearing all your clothes off, it's worth knowing the methods of correcting the most common mistakes. Understanding the causes of imperfections will allow you to avoid them in the future and quickly fix those that have already formed.
Eliminating "mustache" – how to fix the aesthetics of the seam without tearing the entire project
The so-called mustache, i.e. threads from the raw edge protruding to the right side through the final seam, are the result of too wide a margin left after the first stitching or too narrow a second seam. If you notice individual threads, you can try carefully trimming them right next to the seam with small embroidery scissors and gently massaging the tip back inwards. If the problem is with a longer section, the best solution is to re-stitch this section, guiding the stitch a millimeter further from the edge than before, which will allow the unruly threads in the tunnel to be closed deeper. Be sure to double-check that you have enough material stock before this operation so that you don't change the size of your clothing.
Silk ruffling on the seam – correction of transport settings and foot pressure
The wrinkling of a French seam on silk is often due to the machine moving the layers of material unevenly. If you notice this problem, try reducing the pressure on the foot, which will allow the fabric to slide more freely underneath. It is also worth checking that the teeth of the conveyor are clean and undamaged, as any burrs can hook the delicate material. It may be helpful to use a walking foot (with top transport), which moves the top layer of fabric at the same time as the bottom, eliminating shifts and wrinkling.